For the last few months, I spent hours creating a video celebrating my quarter century of marriage. It’s honestly too personal to show you, but what I learned in the process is not.
You can make something quite awesome with an iPhone, iMovie (for the iPad) and an iPad Pro.
When I got married, we couldn’t afford a videographer. We ended up with beautiful photos and the memories we could replay in our own heads. For my project, I decided to create a wedding video out of available assets (our old wedding photos) and newly shot material.
I’ve been editing video on and off for decades, but I had never done something at this scale. There were a lot of moving parts and, honestly, a lot I didn’t know about what I would need and how I could actually edit it.
Over the years, I’ve used a bunch of different desktop video editing apps, most notably Adobe Premiere and Premiere Elements in Windows. The former is a complex and powerful tool for pros (read: not me). I used it, but found it daunting. Premiere Elements has the power of its namesake, but hides almost all the complexity. But there was good reason for me to not use it.
This project had to be done in secret. I couldn’t sit at our home desktop editing this video, not if I planned to surprise my wife. Likewise, I couldn’t edit it in the office when I was supposed to be working. I decided that I’d have to try and get the job done on mobile.
Editing and shooting on the go
When Apple introduced its 12.9-in. iPad Pro in 2015, I was immediately smitten. It had desktop power squeezed into a giant touchscreen. Plus, it could run my increasingly go-to, mobile video editing app iMovie.
I’d started using iMovie to edit quick video clips around the same time Apple introduced the iPhone 6s and 6s Plus. These two powerful phones could handle editing up to 4K video.
Soon, I was attending events, grabbing a few clips of 1080p video with the iPhone and then editing them in the iPhone with iMovie before posting them on social media. I appreciated iMovie’s simplicity and speed. Video rendering on these (short) clips was fast and ensured I could still be timely with a tweeted bit of video news.
As the months passed, I grew confident in my iMovie abilities. Even so, I wasn’t entirely sure that iMovie on the iPad Pro could handle this project. There would be so many moving pieces; plus, I wondered if I could edit without a mouse — just by using my fingers and gestures? Still, there was no getting around the iPad's portability and my growing enthusiasm for iMovie.
So I dove in.
Assets
As I conceptualized the project, I knew that I would need to shoot some of my own video on an iPhone 6s Plus. I actually used a tripod and tried to frame my shots the way a real documentarian might. I did not, though, have a boom mic, a fact that would later impact my editing process.
In addition to the video I shot, I also received clips over iMessage, via email and even some through Facebook Messenger. The quality and aspect ratios were all over the map. I downloaded all the files to the iPad Pro.
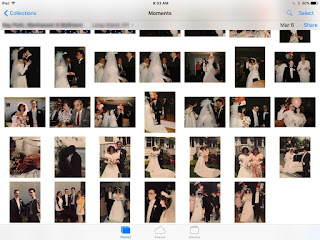
Since I also planned to use a lot of wedding photos, I had to decide how to get them into the tablet. To save time, I simply photographed them with the iPhone 6s Plus. Since most were matte finished, this actually worked surprisingly well. The only thing I did not count on is that all my photos appeared in my Photo Stream and would show up on our HDTV every time we turned on Apple TV and it went into sleep mode. My wife noticed, but still had no idea what I was doing.
I transferred my assets onto the iPad Pro via AirDrop.
Inside iMovie
I’m convinced that even video neophytes can figure out iMovie.
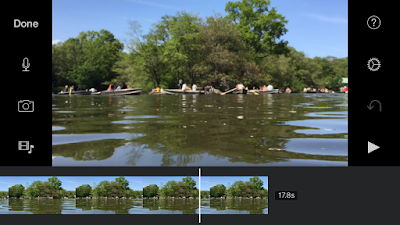
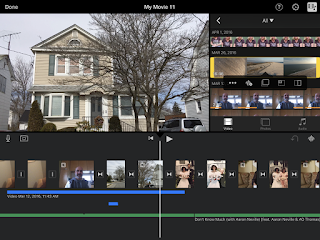
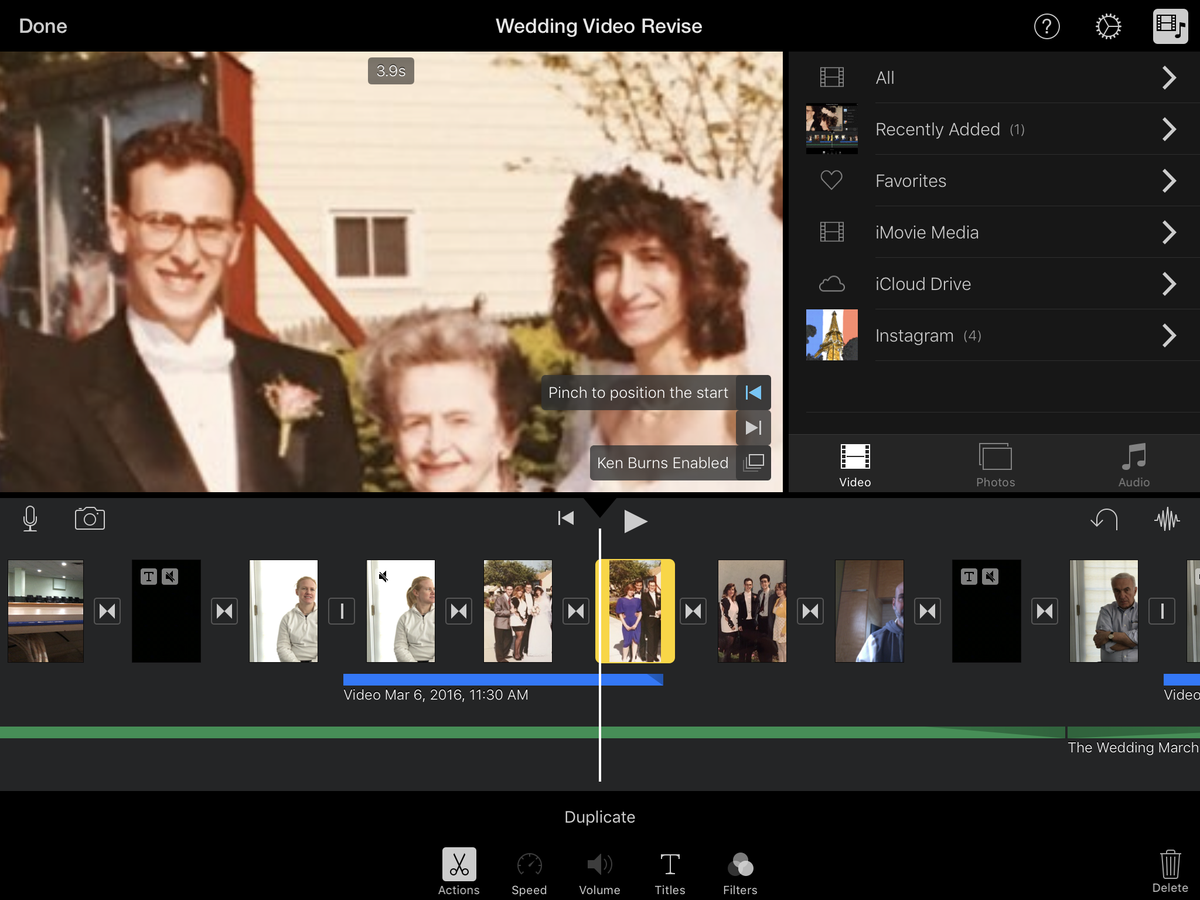
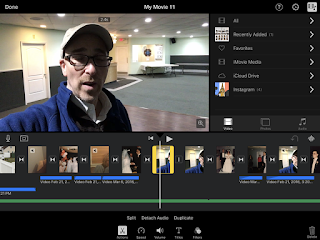
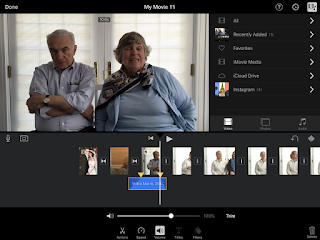
It’s organized into three major areas: the playback window in the upper left. To the right of it is your asset pane — which you can collapse for more video-editing space — and below both of them is the timeline. In the iPhone, you only get playback and the timeline, with icon access to assets (photo, video and audio). I really came to appreciate all the space afforded by the giant 12.9 iPad Pro (I also used the smaller iPad Pro 9.7 to work on the project).
Under the asset pane are icons for content types: video, photos and audio. You just select one to see the content stored on the iPad. Photos and video are sorted similarly, by All, Recently Added, Favorites. Photos also includes types like Panoramas and groups you’ve created.
The more you pre-organize your content, the better off you are. I did not do enough of that and was often scrolling through hundreds of images and videos to find the one I wanted. As for Audio, it helps to know what you are looking for since there is no Recently Added. Best to create a soundtrack playlist in iTunes and then you can find all your tracks grouped together in iMovie.
Photo story
As I noted earlier, I had no original wedding video, just the fresh interviews (and some b-roll) I captured in the weeks leading up to editing my project. That meant I’d be using photos – a lot of them – throughout the video. iMovie, though, has at least two great features for bringing still images to life. One is called the Ken Burns Effect. Yes, that Ken Burns.
Fans of Burns’s epic documentary on The Civil War will recall how he breathed life into 130-year-old images by constantly moving the camera as voice overs and music played over them.
When you drag and drop photos onto your timeline, iMovie automatically adds a subtle Ken Burns effect, usually slowly zooming in on the photo. However, iMovie also lets you choose where to start and end the effect. I used this to particularly good effect on family shots, basically making the camera pan across a lineup of family members.
More documentary effects
The second part of my master plan to make a largely photo-based video interesting involved, naturally, audio.
While it can be fun to watch people sit around talking about a wedding that happened a quarter of a century ago, I realized I’d want to keep the talking head face time to a minimum and use their stories to drive some of the narrative behind the original images.
Fortunately, iMovie lets you detach the audio from your video clips. I used this throughout my project to add voice-overs to static photos and some b-roll. (You can also use detaching audio to delete audio from any video.)
Initially, I would choose a clip and detach the audio from the whole thing. But I soon learned that the only way to really keep track of which audio went with which video clips was to confine my detached audio to as small a portion of the video as necessary.
What I’d do is split the video clip near where I wanted the voice-over portion to begin. Then I’d drop an image in next to the video clip and use my finger to trim the video back almost to the beginning of where I split it off. As I did this, the photo would slide over the audio track. I made sure to have the photo, which can play out Ken Burns effect for as long as you want, last as long as the detached audio. The result is that a subject would start speaking on camera and then the video would transition to a photo as they continued to talk over it. It’s a classic documentary look.
As long as I did not pick up the video with detached audio and move it around, iMovie did a good job of keeping the audio and video in sync.
Say what?
In my interviews, I noticed that people often switched subjects with barely a pause between sentences. I needed people talking about the same thing grouped together, so I had to make some pretty precise video cuts.
iMovie let me work with the clips broadly, by zooming out on the whole timeline. But if I needed to get precise, I pinched and zoomed as far as I could so I could find the exact cut point I needed in a 5 second clip. Throughout my project, I was constantly zooming in and out.
I could also clean up some of the audio, where it sounded like I had abruptly cut people off, by adjusting the Trim and Fade on audio. I just had to select the audio clip, then hit the fade button.
On the actual audio clip, I could adjust the fade (going from full volume to none) as far as I wanted. I did it until people sounded like they had naturally stopped speaking, but not so much that I faded away what they were actually saying.
Don’t get ahead of yourself
For as good as iMovie is, I learned a hard lesson about halfway through my project. I was busy cutting clips, detaching audio and moving things around (I even tried to add a soundtrack, but more on that later) when I realized that I had somehow screwed up the video and audio synchronization. It was so bad that I could not figure out how to undo all that I had done to have the right audio playing with the right talking heads.
(A versioning feature would have been a huge help here, or even just the ability to save a project under a different name and then work on the original. This is one place where Windows video editing would have made things easier.)
So I started over, but with a better understanding of how I had to manage the project. I decided to not detach a single audio clip until I had almost every video clip and photo in position. It was like managing a complex magazine layout or collage. I gently placed all the pieces down without, in essence, applying any glue. After that I would work on creating the right voice-over segments, Ken Burnsing the photos and the very last thing I would do is add a soundtrack.
Like a melody
Even though iMovie has a track reserved for soundtrack or music, this is one of the app’s weakest areas. You have to add music sequentially; it is impossible to drop in a track at a specified place and pin it there. Eventually I figured out how to choose all my tracks and assign their order before putting them on the actual soundtrack.
As in other audio areas, I could adjust the volume, but I love that iMovie will automatically lowers the music volume when there’s an audio track in the foreground. This made it easier to manage sound levels, though I did have to do a lot of hand-adjusting on clip audio because all the video I'd been given was recorded at different levels and when you split audio from video, it changes the level, making it louder, yet again.
For my soundtrack, I used a combination of the tracks that iMovie provides, which are pretty good, and music I bought myself. Since this was not a public/commercial project, I didn’t worry about royalty and copyright issues.
The in-betweeners
I also experimented a fair amount with iMovie’s built-in transitions. Having music behind everything meant I didn’t need as many transitions, but I still found areas where a dissolve worked well. The more complex themes and wipes a little too distracting for my video.

I also wanted something bigger to break up what I thought of as the chapters in my video. Eventually I settled upon dissolving into and out of a black screen with some text appearing to announce the next chapter topic. To make that video, I recorded on my iPhone as my hand covered the screen. Voilà! black video. I just needed to delete the audio and then add text.
I love iMovie’s title overlay tools, which I used a little on top of photos, but mostly for the chapters. I settled on one Title style and then used it for all the chapters. I also had the added benefit of using the iPad Pro's attachable Smart keyboard, which meant I didn't lose any screen real estate to a virtual keyboard.
The final cut
Ultimately, I spent weeks editing and producing a 20-minute video entirely in iMovie on an iPad Pro, mostly while commuting on a train. I learned a lot during the project, even if I didn't use all of the advance features in iMovie (I never employed split-screen or picture-in-picture video, for instance).
iMovie could use a few changes, like something akin to a file system for project management, a better way of managing assets and a much smarter audio track system, but, overall, I am impressed. If you have a new iPad or even an iPad Pro and iMovie (which is free!), why wouldn’t you be doing all your video projects on the iPad?
As for my movie, I'm no Spielberg and Ken Burns would likely be appalled, but I'm happy with it. The quarter-century-late wedding video premiered to a tiny audience on Facebook. It made my wife cry. For me, that’s as good as an Academy Award.


